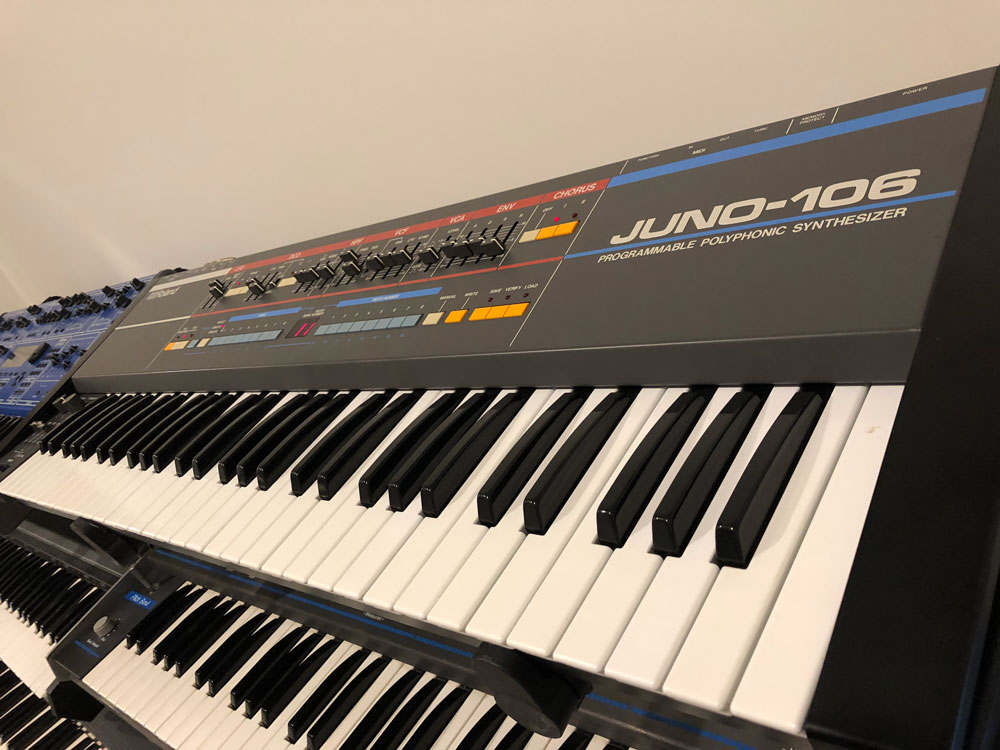
In early 2019, I came across this Roland Juno-106 from a colleague who’s brother (RIP) had owned it. It had been gathering dust for a number of years, and was showing symptoms of classic Juno-106 voice failure.
Most of the voices were either not playing at all, or hanging. A couple of the keys were also not working, plus some buttons intermittently failed.
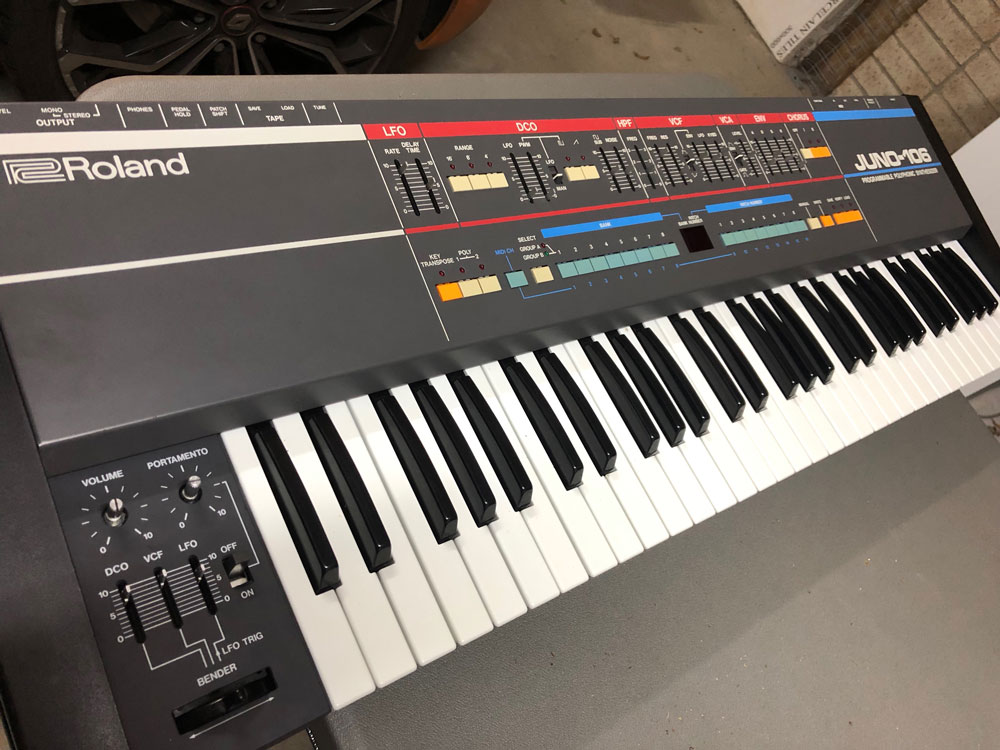
The first few pictures show the state of the outside of the unit. No real scratches or damage, but in desperate need of a clean, right down to each key.
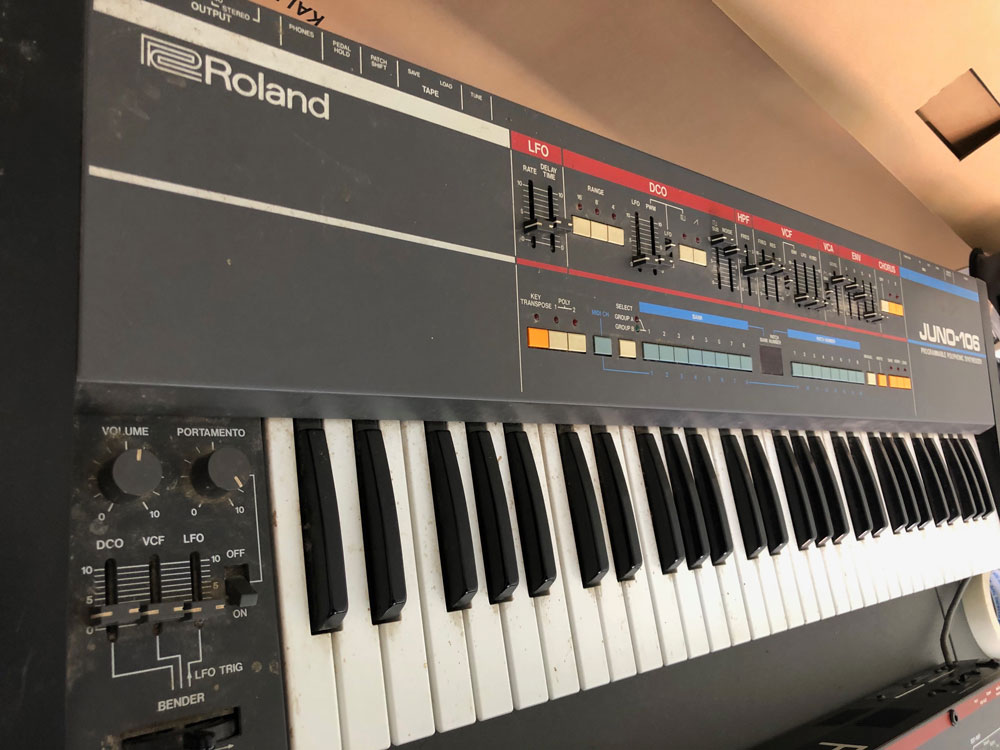
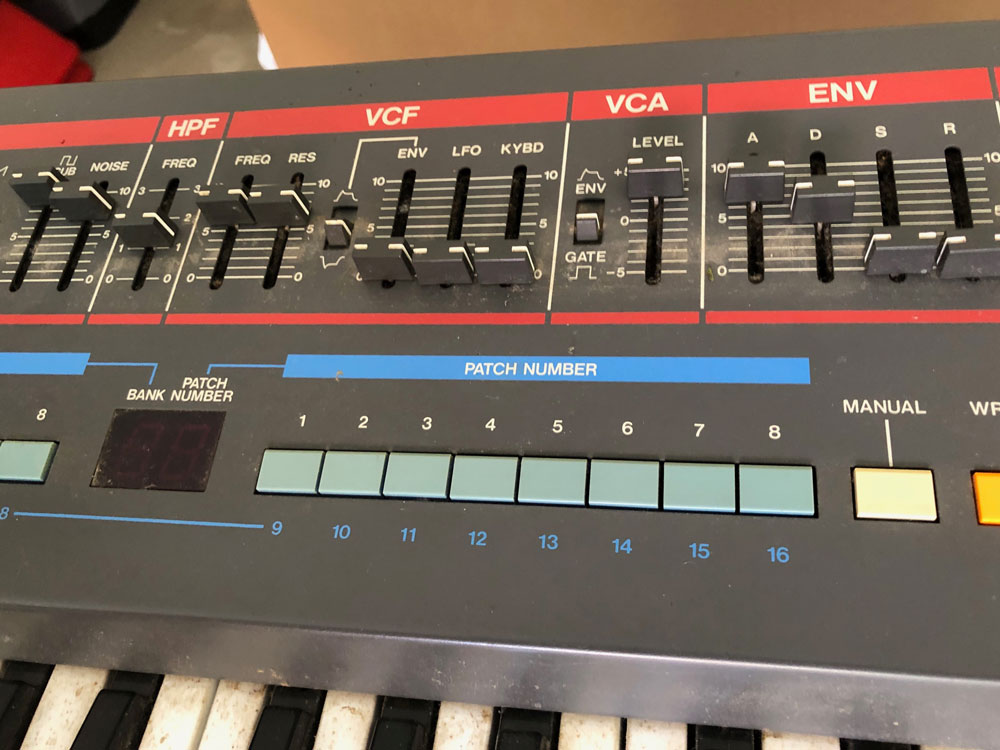
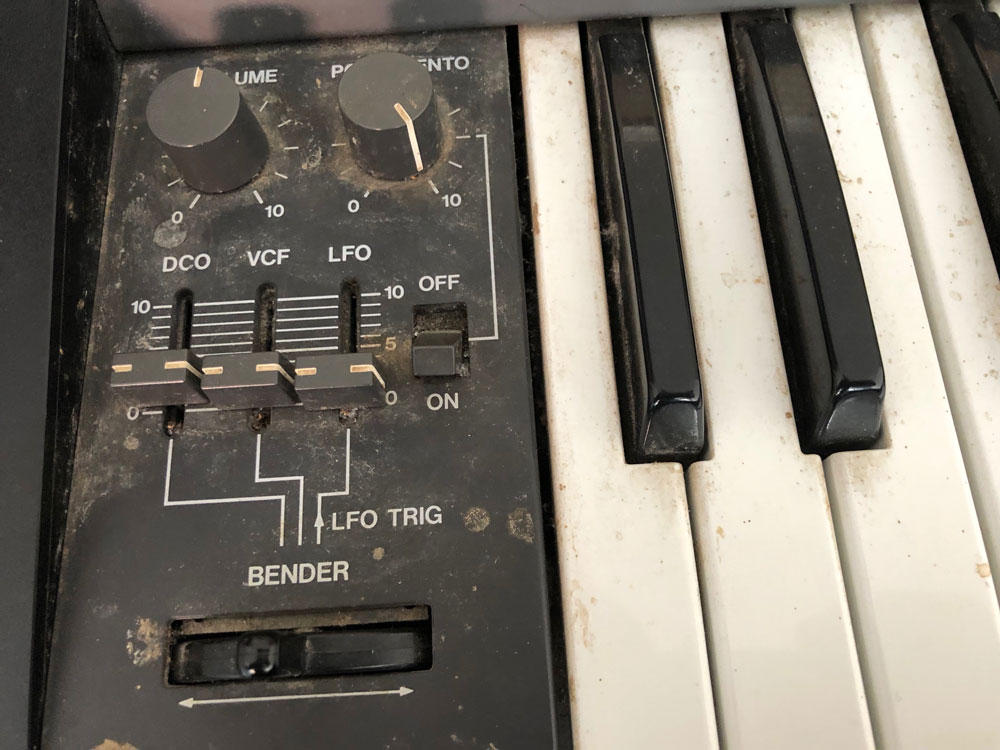
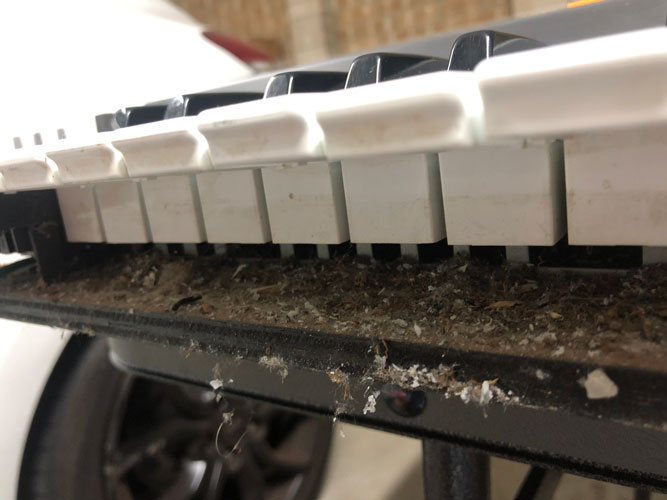
Above you can see the need for cleaning the synthesizer down to the keys and the pitch bend. The image below shows the amount of dirt under the keybed once the guard was removed.
Inside the Juno-106, some of the fader dust covers had either started to deteriorate, or had fallen apart.
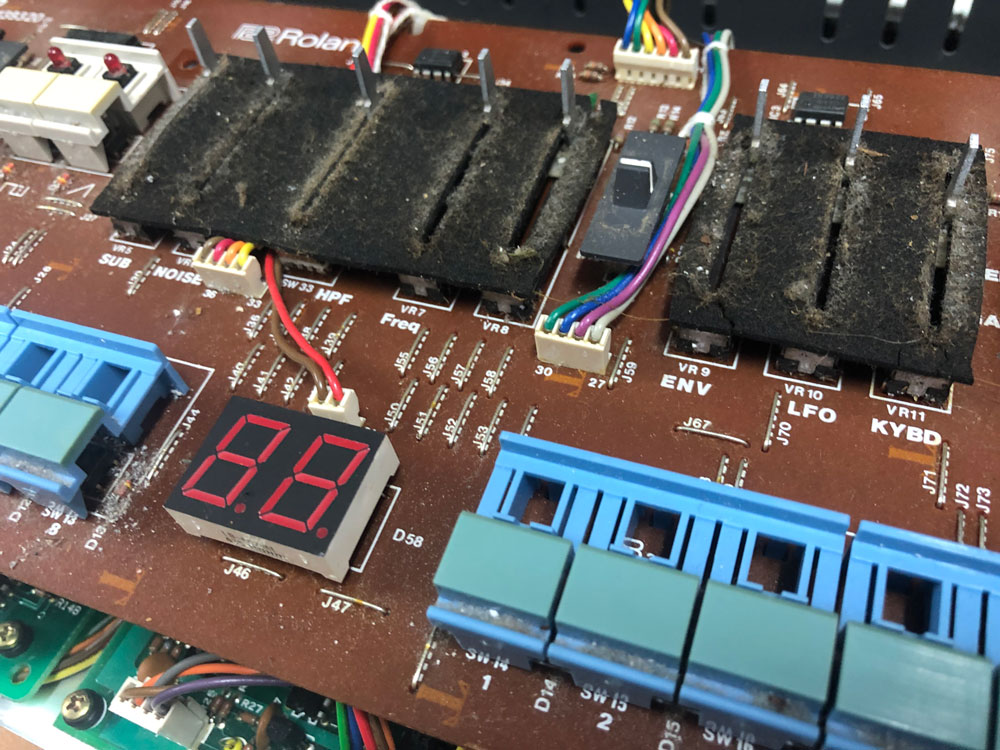
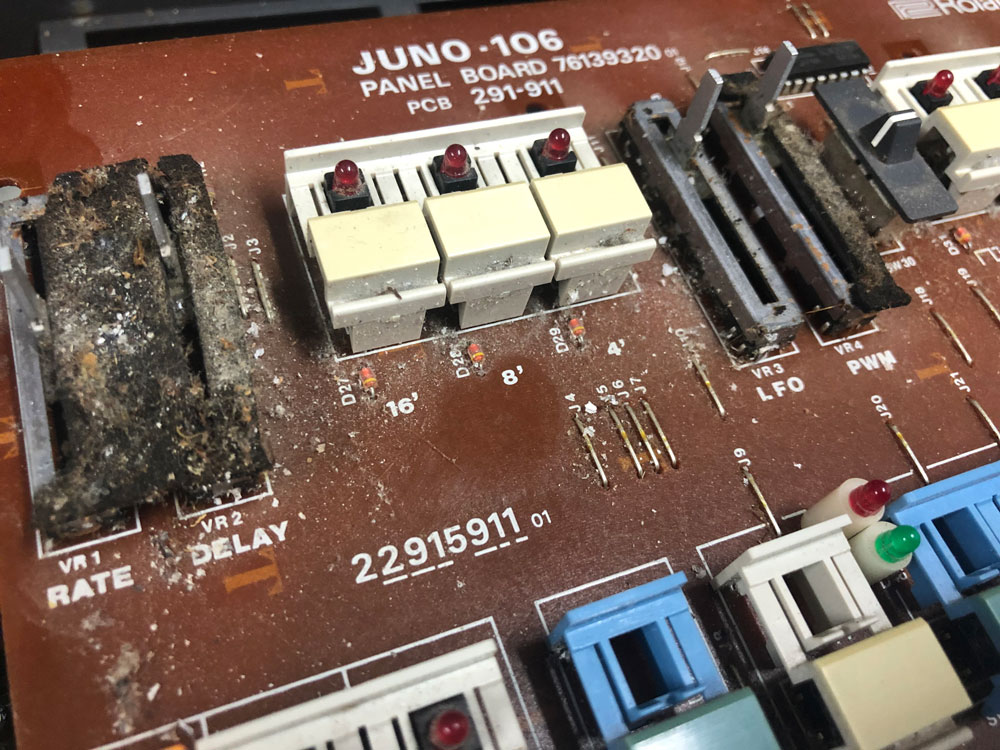
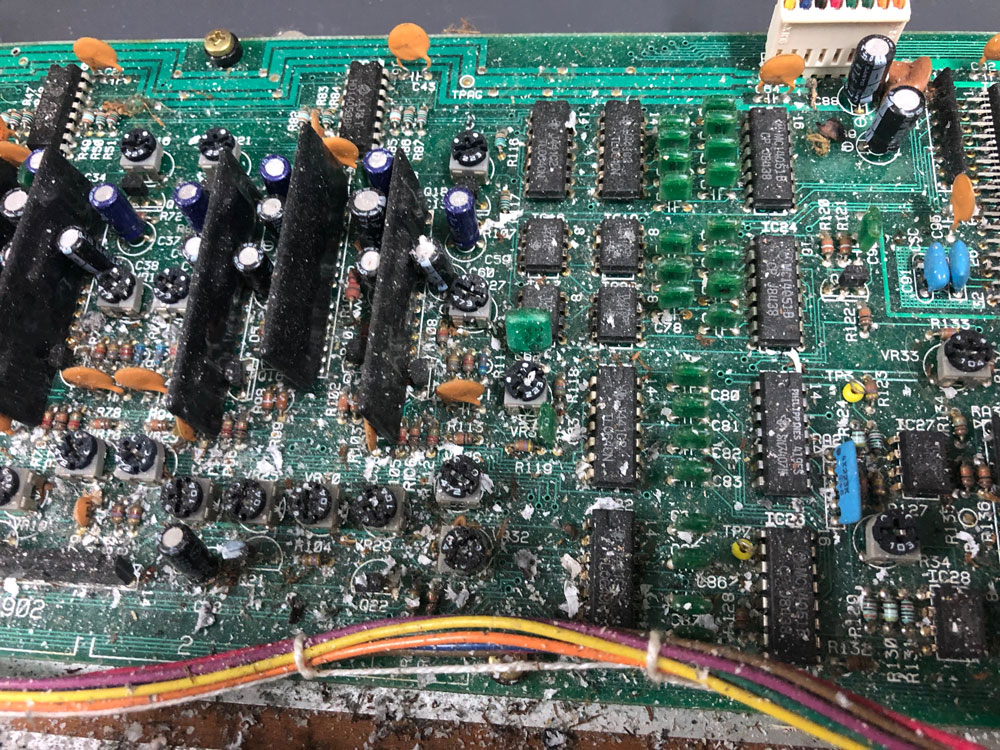
I was surprised to see that the inside of the synthesizer was snowed upon with ash! It’s amazing how the ash from smoking had managed to seep into the main panel board. Some keys were marked with some cigarette burns, but were excellent other than that.
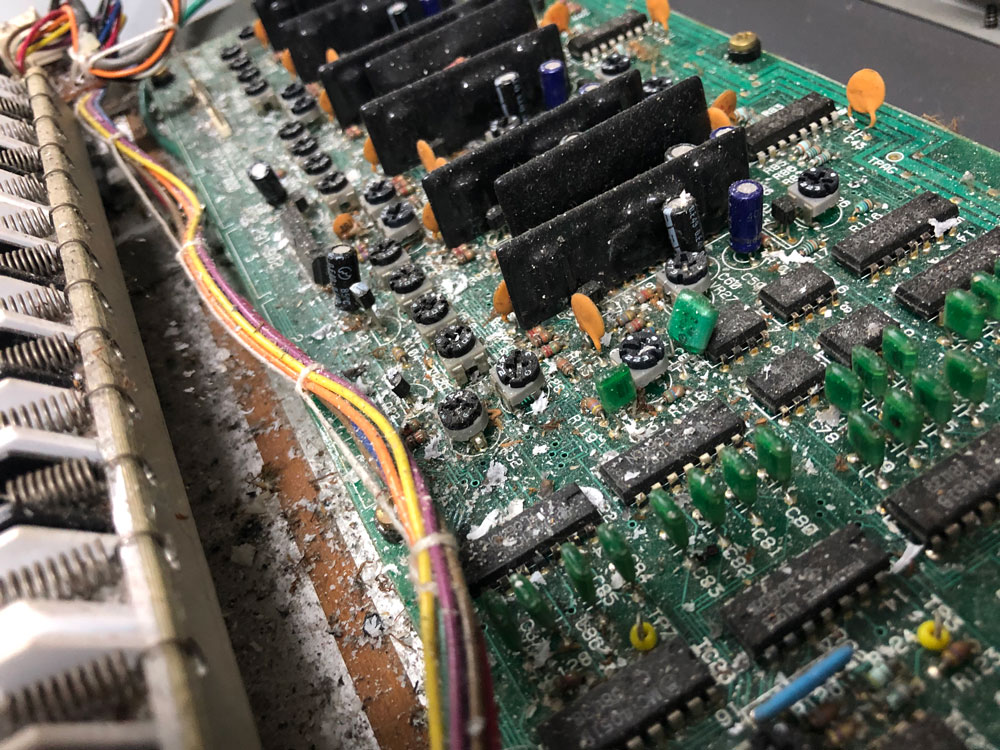
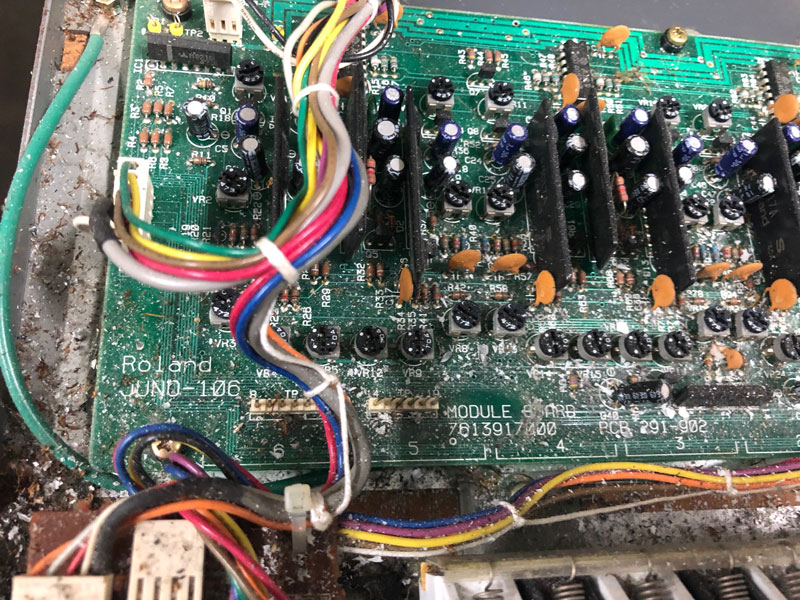
I was even more surprised to see under the keybed. More ash and dried leaves had found their way underneath. It’s amazing that more keys weren’t failing.
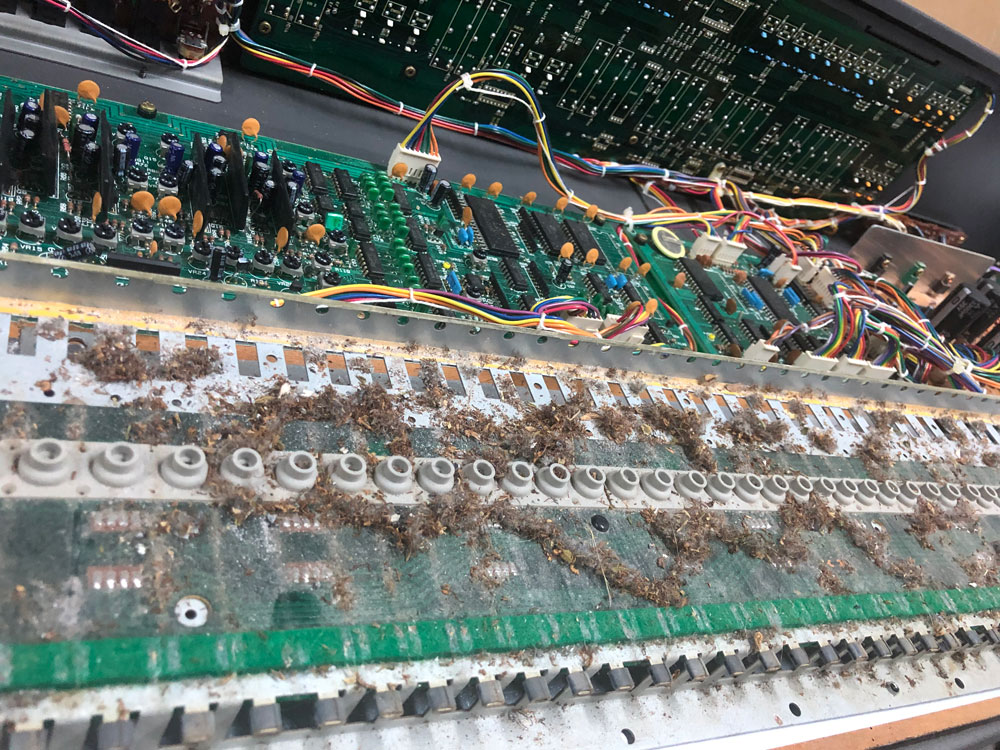
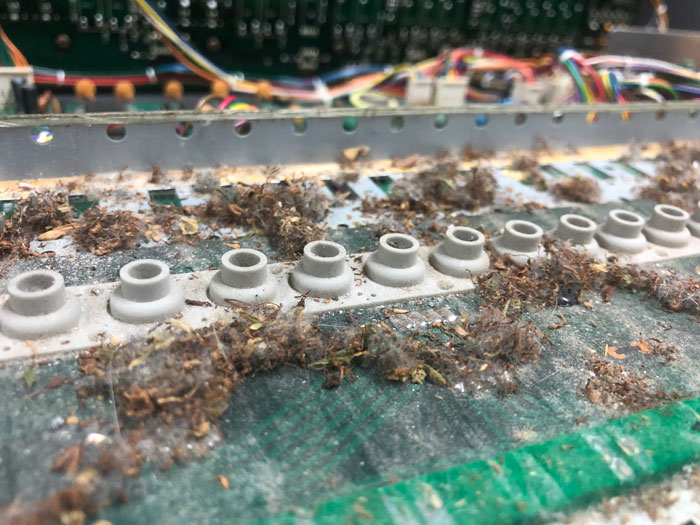
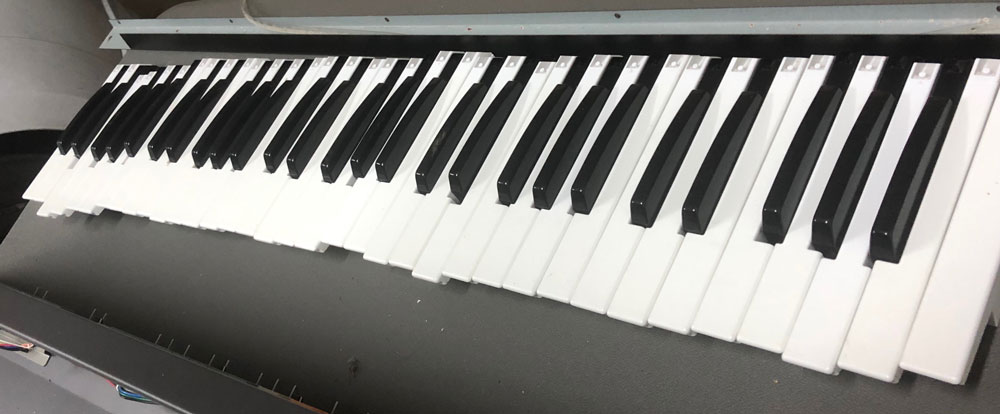
I removed every key and cleaned them one by one. I gave the inside of the synth a good vacuum, and wiped down the inside and keybed PCB. I also removed and cleaned the rubber contacts, and re-set them. Luckily this was enough to resolve the dead keys.
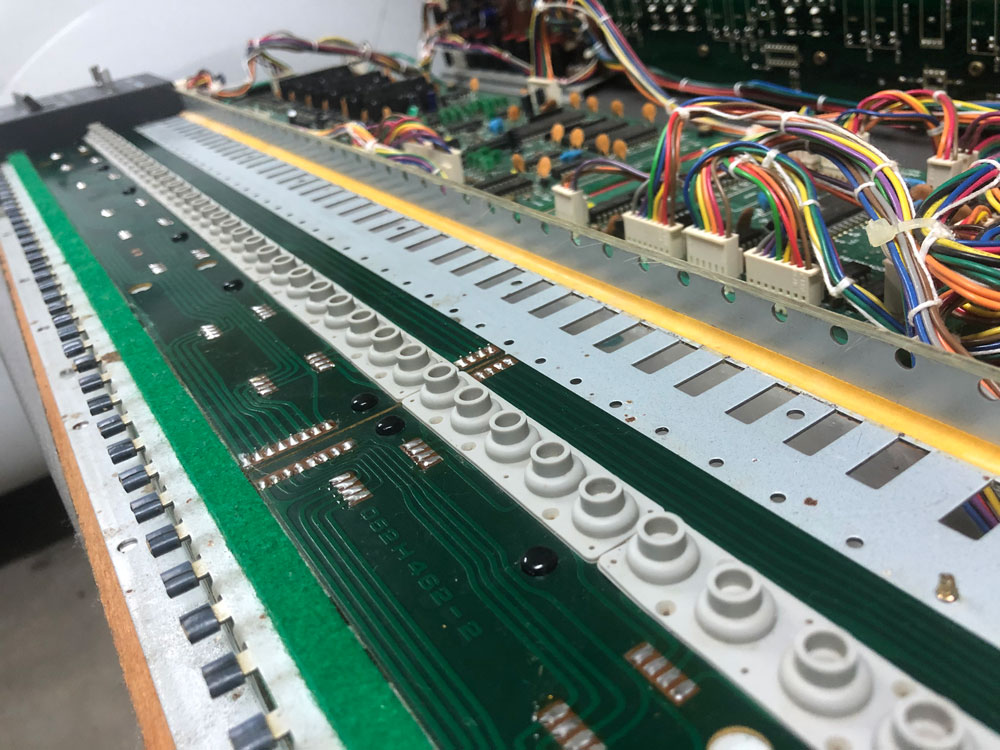
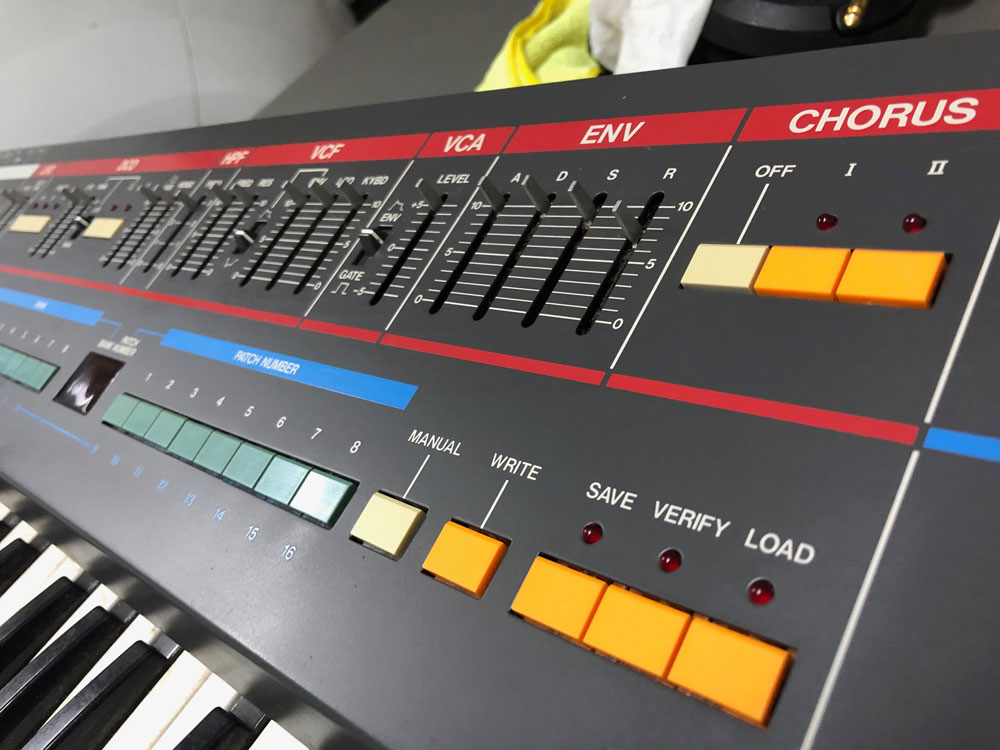
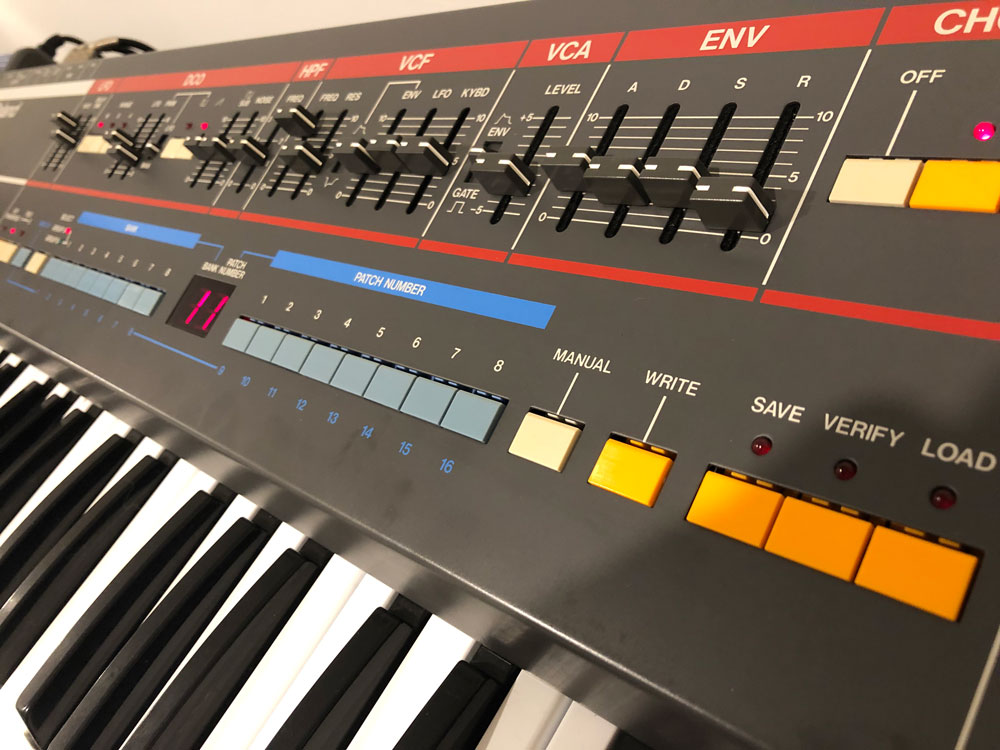
With the cleaning, the Juno-106 panel began to look gorgeous. The classic Roland colour scheme used on the Juno series really shines through.
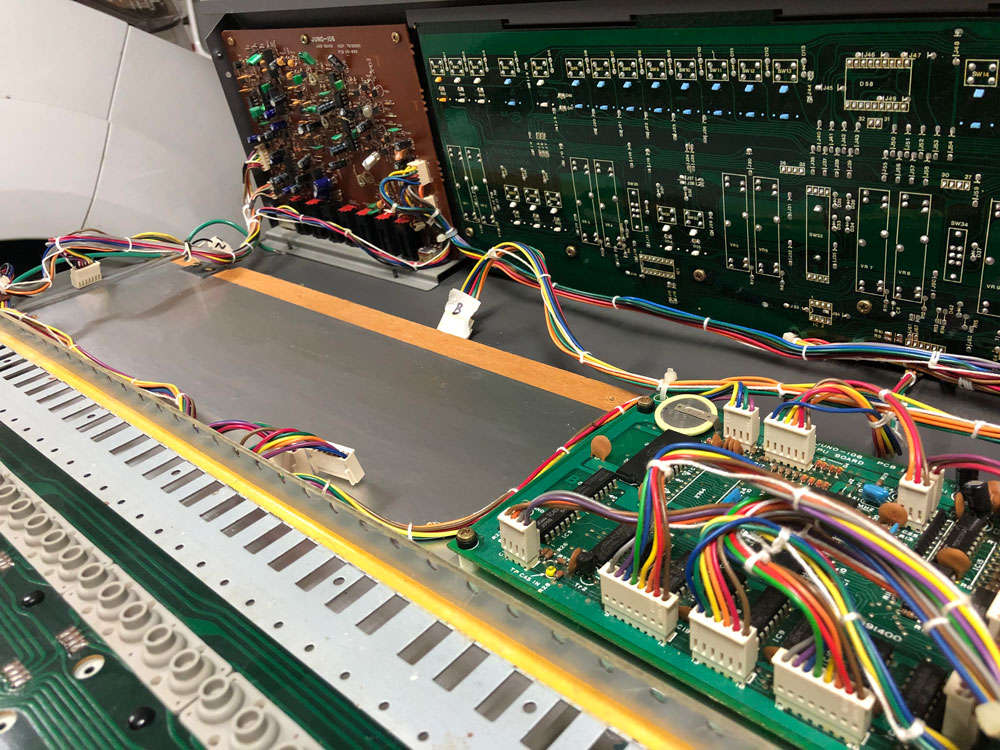
It was time to repair the voice chips. I decided to try and repair the original chips, by trying the acetone treatment to remove the plastic that encapsulates them. It’s known that over time, the plastic changes it’s properties and interferes with the chips. I removed the main PCB from its place, carefully marking the ribbon cables for reconnection later.
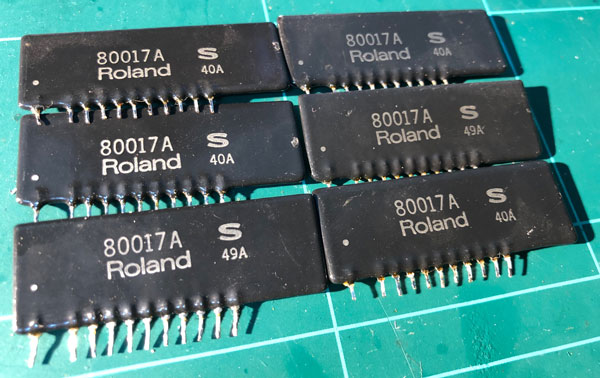
I placed the above chips and left them in acetone. Initially for 24 hours, but the results were better after a few days. The plastic would eventually bubble and could be removed. It did however take hours with tweezers to remove all the plastic from all the chips.
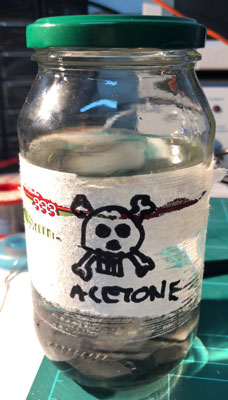
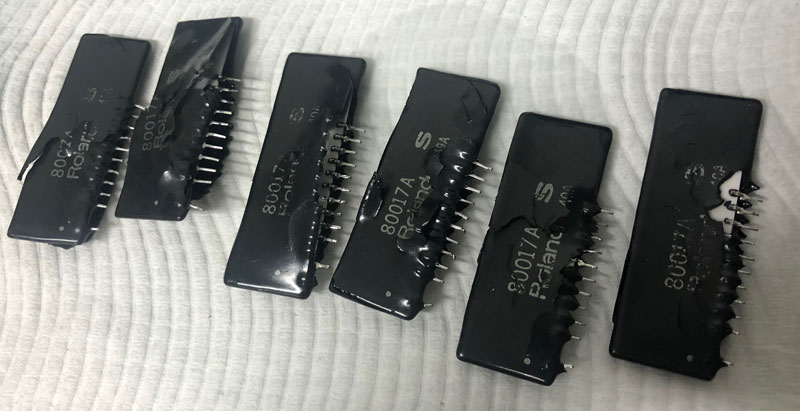
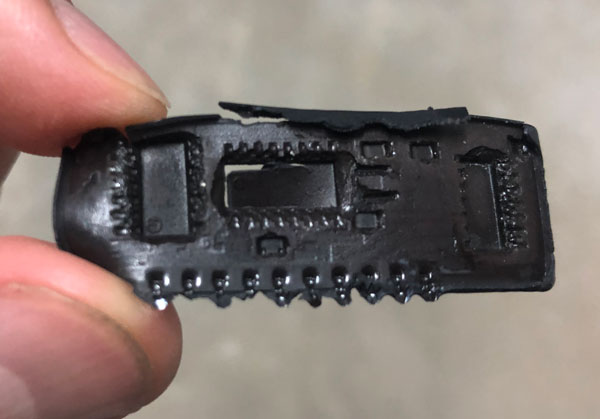
I also added some pins to the original voice chips, and headers to the PCB, so I could easily swap them in and out.
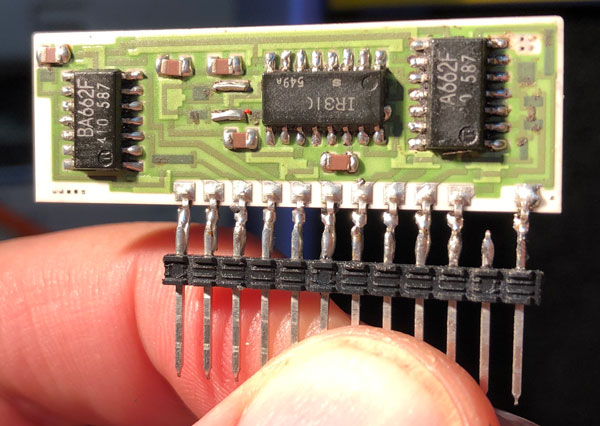
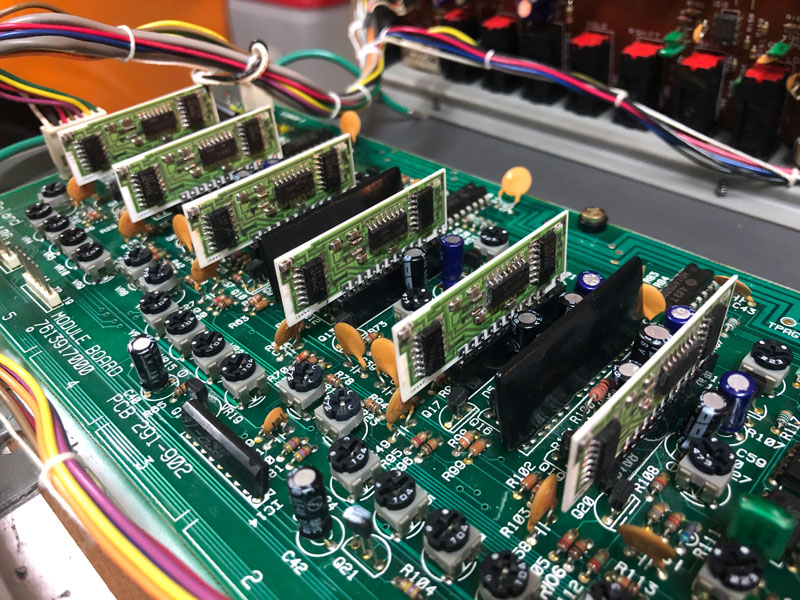
Above you can see the original chips reinstalled. Unfortunately, even after re-soldering the connections using solder paste and a heat gun, there wasn’t any improvement in performance. Before replacing the voice chips, I decided to put in replacement MC5534A wave generator chips. I used the D5534A chips from Analogue Renaissance.
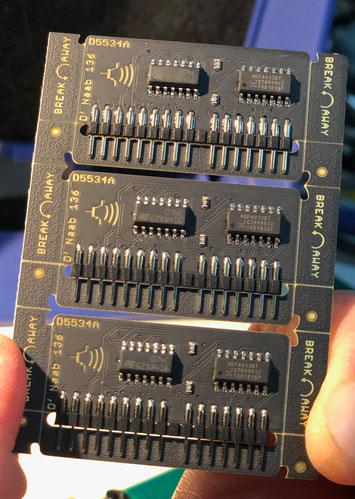
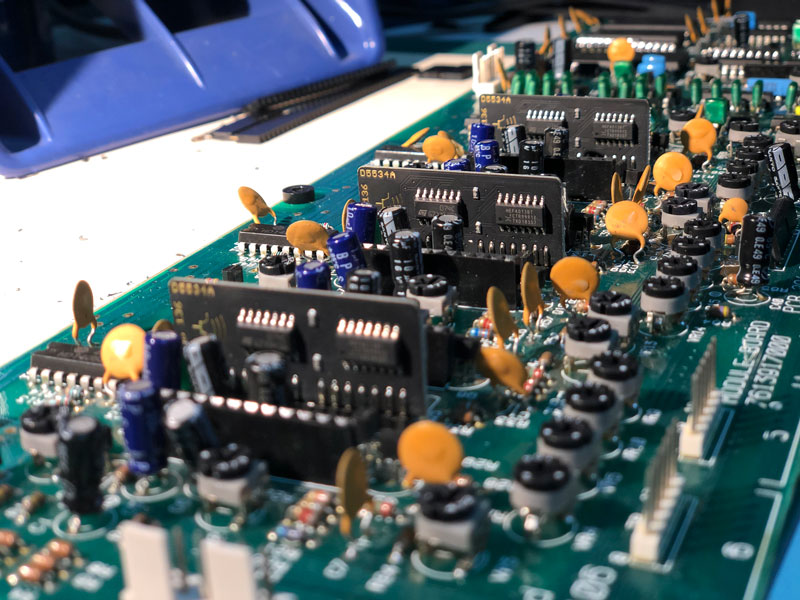
It was a simple task to replace the wave generator chips. I did see an increased performance, where 4 of the voices were working reliably (although one sounded like it needed calibration), and 2 weren’t. I got hold of another 2 original voice chips, put them through the acetone treatment, and tried to replace the faulty two. However, it was proving a fruitless exercise and no matter which combination of chips I used, I was still getting failures. In the end, I decided to go with the AR80017A VCF/VCA voice chip replacements from Analogue Renaissance, after reading good things about them.
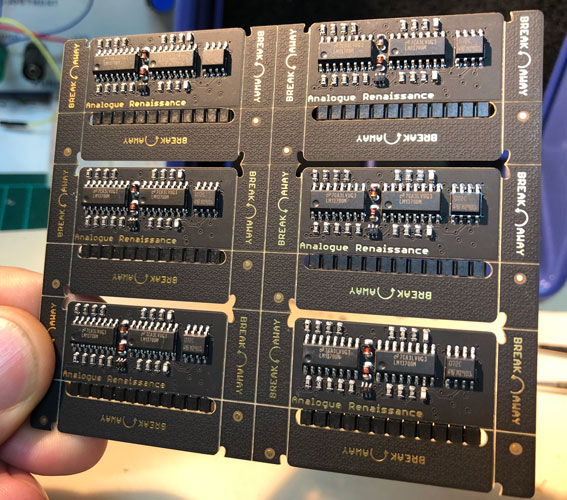
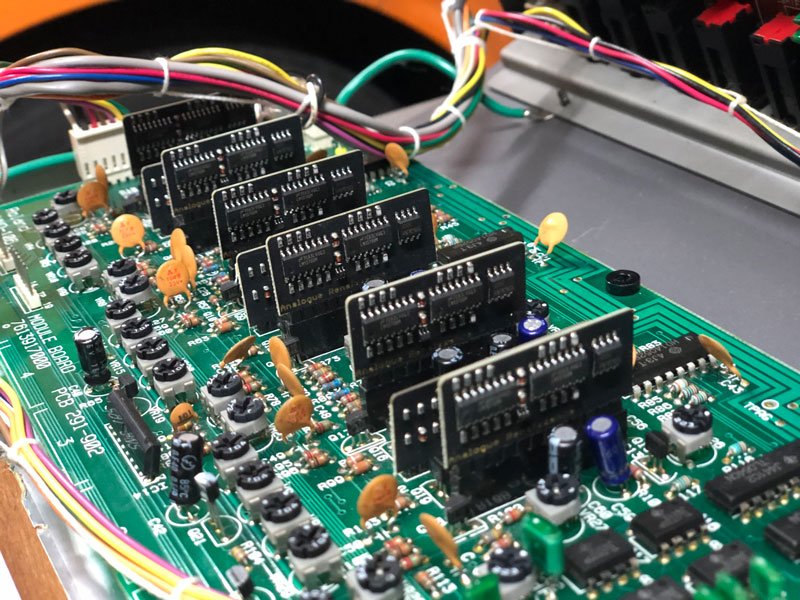
Finally the new voice chips were in alongside the wave generators, and 6 voices worked perfectly. It’s also worth mentioning that there was no discernible difference in sound between the Analogue Renaissance chips, and the originals. I know a lot of effort was put in to ensuring this was the case. All the characteristics of the filter were still there.
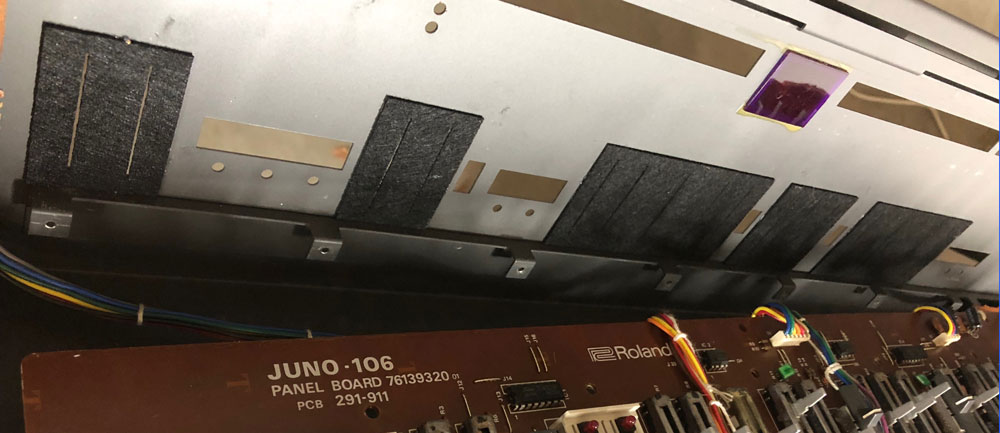
I also replaced the slider and knob dust covers with a new set from Belltone Synth Works. As per their recommendation, I applied the new set to the back of the panel, rather than on top of the sliders; this worked well. As you can see below they fit snugly.
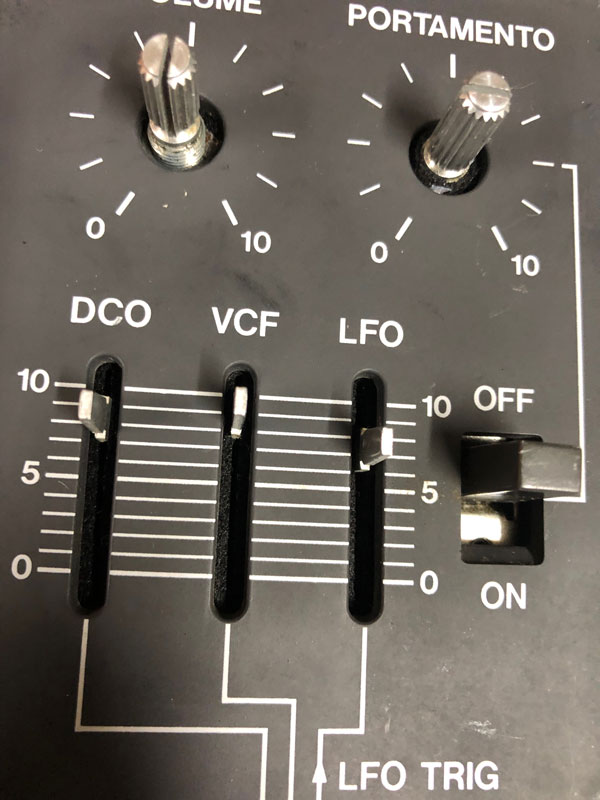
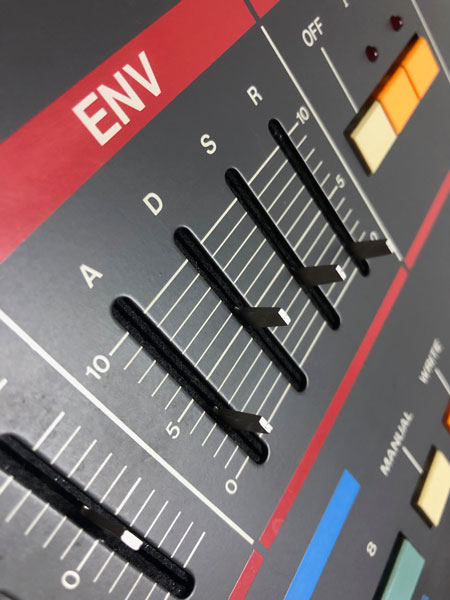
It took a while, but finally the Juno-106 was ready to leave the workbench and enter the studio. Apart from a few minor blemishes on the keys, the synth looks and functions well.
The Juno-106 has taken its place above my Roland Kiwi-3P and Ensoniq ASR-10 in my new studio. Here it’s shown above another 80s DCO synth, the Solton Project 100. The Juno-106 punches above its architecture with a punchy sound, aggressive resonance when wanted, fat bass that makes your speakers move, warm pads, and a beautiful chorus section. It’s definitely a great addition to any studio.
